How to Use ChatGPT Image 1.5
Table of Contents
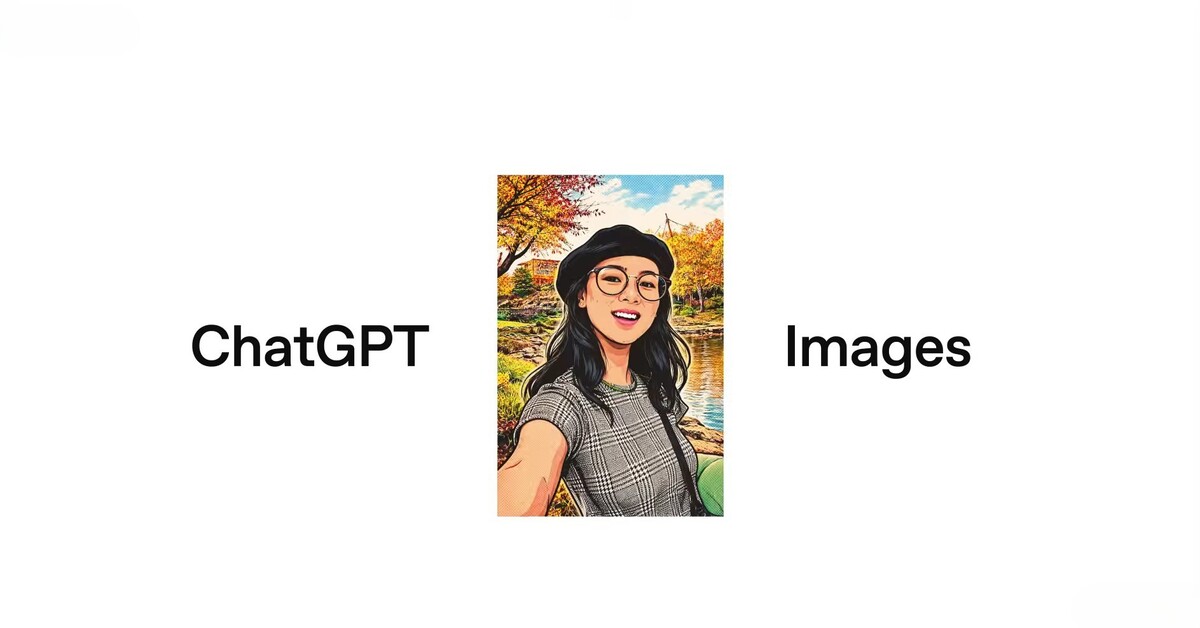
How to Use ChatGPT Image 1.5: Step-by-Step Tutorial for Beginners
Artificial intelligence has transformed the way we create visual content, and ChatGPT Image 1.5 is leading the charge. Whether you’re a content creator, marketer, or someone curious about AI-generated images, this guide will show you how to use ChatGPT Image 1.5 step by step. By the end of this tutorial, you’ll confidently generate, edit, and refine AI images without struggling with technical jargon.
What is ChatGPT Image 1.5?
ChatGPT Image 1.5 is the latest AI-powered image generation tool from OpenAI. Unlike previous versions, it offers faster generation, more accurate rendering, and improved text handling within images. This means it can create realistic illustrations, graphics, or even surreal art with better precision. It’s also designed to follow detailed instructions, making it a perfect choice for beginners and professionals alike.
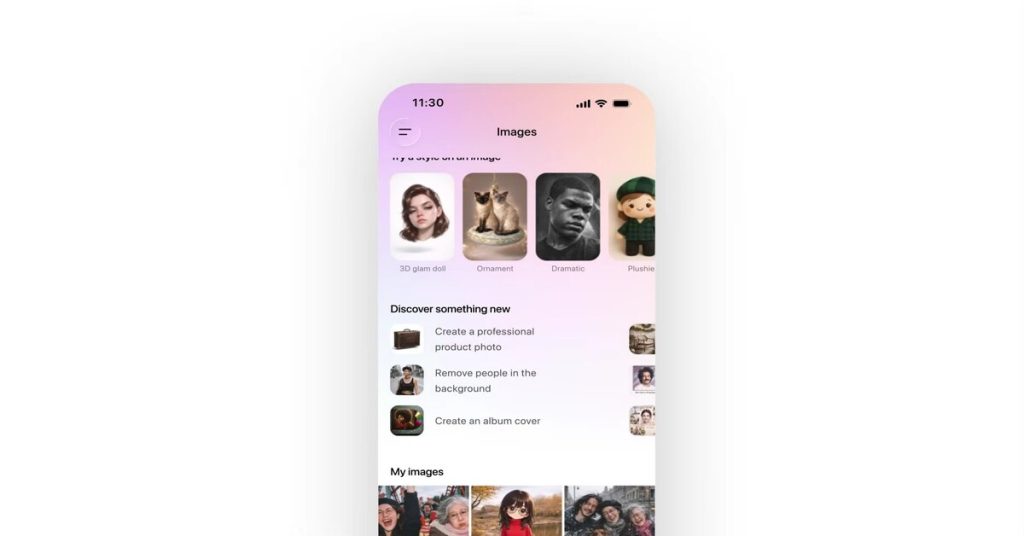
Step 1: Accessing ChatGPT Image 1.5
Before you start creating images, you need access to the tool:
- Sign in to ChatGPT: Use your OpenAI account. If you don’t have one, you can create it for free.
- Navigate to the Images tab: In the ChatGPT interface, click the Images section. This is where all image creation happens.
- Choose your mode: ChatGPT Image 1.5 allows both image generation from scratch and editing existing images.
Once you’re ready, you’re set to generate your first AI image.
Step 2: Creating Your First Image
Creating an image is as simple as typing a description. Here’s how:
- Write a prompt: Describe exactly what you want. For example, “A futuristic city skyline at sunset with flying cars.”
- Select a style (optional): You can choose styles like realistic, cartoon, sketch, or 3D render.
- Click Generate: ChatGPT Image 1.5 will process your prompt and deliver multiple image options in seconds.
Tips for better results:
- Be specific: Mention colors, objects, lighting, and angles.
- Avoid vague terms: Instead of “beautiful scene,” say “sunset over a mountain lake with reflections.”
- Experiment: Sometimes tweaking one word changes the entire output.
Step 3: Editing Images
One of the standout features of ChatGPT Image 1.5 is its image editing capability. You can:
- Upload an image: Click the upload button and select your image.
- Apply changes via text instructions: For instance, “Change the sky to a starry night” or “Add a river flowing through the mountains.”
- Refine multiple times: The AI allows several iterations until your image matches your vision.
This makes it easy to correct mistakes or enhance details without starting from scratch.
Step 4: Using Prompts Effectively
Prompts are the key to generating quality images. Here are some strategies:
- Use descriptive nouns and adjectives: Instead of “cat,” try “a fluffy Persian cat sitting on a velvet couch.”
- Include perspective and angle: “Top-down view of a futuristic city” provides a clearer result.
- Specify artistic style: “In the style of Studio Ghibli” or “hyper-realistic photography.”
- Combine concepts creatively: “A robot playing guitar in a desert sunset” produces unique outputs.
Experimentation is part of the fun. Over time, you’ll learn which prompts produce the best visuals.
Step 5: Saving and Using Your Images
After generating your image:
- Download: Click the download button to save the image in PNG or JPEG format.
- Organize your images: Create folders for different projects to stay organized.
- Apply in real-world projects: You can use these images for blog posts, social media, presentations, or creative projects.
Remember, ChatGPT Image 1.5 is meant for personal, educational, or commercial projects, but always check OpenAI’s latest usage policies for compliance.
Step 6: Tips for Beginners
- Start simple: Don’t overcomplicate prompts at first.
- Learn from AI output: Analyze generated images to refine future prompts.
- Use multiple drafts: The AI often improves with slight modifications.
- Combine tools: Pair ChatGPT Image 1.5 with photo editors for extra polish.
Step 7: Common Mistakes to Avoid
- Being too vague: “Draw a scene” produces generic results.
- Ignoring style cues: Without specifying style, the AI may generate something you didn’t intend.
- Expecting perfection: AI is creative, but sometimes outputs require tweaking.
- Skipping edits: Many beginners stop at the first image; refining makes a huge difference.
Conclusion
ChatGPT Image 1.5 is a powerful and beginner-friendly tool for generating and editing images. With the right prompts and a bit of experimentation, anyone can create stunning visuals in minutes. By following this step-by-step guide, you’ll have the confidence to explore AI image creation for blogs, social media, marketing, or just personal projects.
The best part? The learning curve is short, and the results are immediate. Start experimenting today and see how ChatGPT Image 1.5 can transform your creative process.